Showing posts with label fairy garden. Show all posts

Saturday, May 4, 2013

Backyard Woodland Play Area

woodland|backyard play|fairy garden|outdoor tic tac toe}|outdoor checkers|mud kitchen|outside chalkboard|balance beam|spare parts|creativity|creative play ideas|imagination|value of play|value of outside playWe recently cleared most of our back yard. It was heavily wooded with 80-90 foot pine trees. The ground was covered with a thick growth of English Ivy.

In the South heavy ground cover is an open invitation to snakes. And, in the South we have several species of poisonous snakes. Needless to say we never walked back there. We had the ivy cleared last year and I loved having access to more of our yard.

The trees were top heavy and so close to the house that they represented a potential threat. Over the winter three of the massive trees in the front yard fell. Kevin gamely got our his chain saw, cut them into sections and cleared them away. However if any of the trees in the back fell they were almost guaranteed to hit the house - and one of the girls' bedrooms. I decided that they all had to go.

We had the town arborist come out and evaluate the trees. With the exception of a few very old trees and one or two specimen trees he agreed that they could all come down.


We left one corner of the yard wooded. It had several large trees to accommodate Danielle's hammock and zip line.


I wanted to make this area her woodland wonderland. But, how could I draw her across the dry creek bed to play in that area? The giant remaining logs became a natural bridge.


Since it was a shady corner I wanted to add some color. I spent $10 on metal flowers from Dollar Tree to create a whimsical year round flower garden. The kids can move them around as they see fit.

I painted a piece of left over plywood with chalk board paint and leaned it against the back fence. I hung a bright plastic colander of chalk next to it.
 

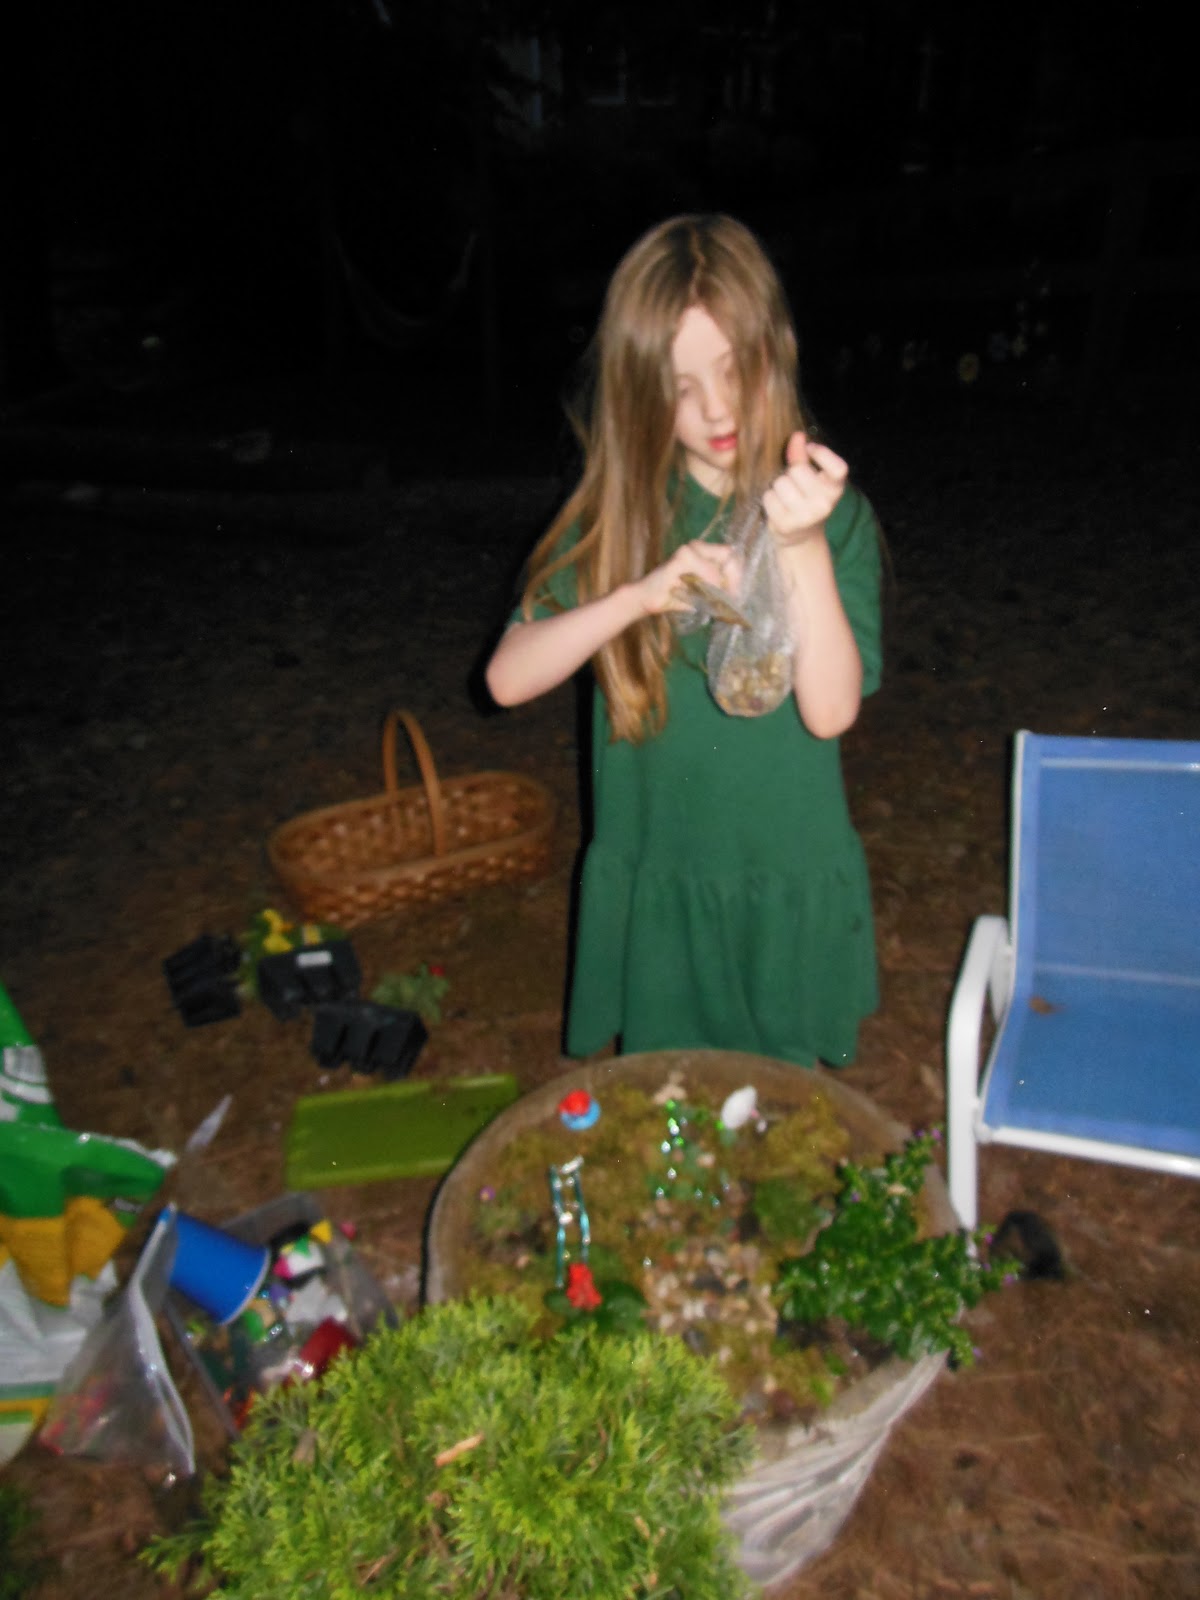
We spent a week playing back there, creating our fairy gardens.
 
 
As we played other things moved into the area. Soon her balance beam was back there, as were some child-sized lawn chairs and an outdoor coffee table that had been on the deck. Perfect for picnics or woodland tea parties!

And if you are going to have tea parties, then you clearly need a kitchen. So we assembled a mud kitchen - or mud lab, depending on its purpose on any given day. Again, we made this from recycled materials, including a piece of scrap lumber and some cinder blocks. We moved forgotten play kitchen toys, thrift store items and the sand box next to it.

We had an art area. I wanted some musical instruments as well. We have several sets of wind chimes around the yard. I pulled one set apart and hung them from the fence for a xylophone. Danielle has a set of bongos she loves, but I don't want them left outside.  We made a taiko drum from an old tire and $3 worth of duct tape. The tire had been a swing but my neighbor was having fits about mosquitoes breeding in it even though I had drilled holes in the bottom to prevent water from accumulating in it.
Taiko Drum made from an old tire & duct tape

I used some inexpensive (10 cent) tiles to create a tic tac toe board set into the ground. We used rocks for the markers.  I painted the Xs and Os with nail polish.


Studies show that what children most want in their natural play spaces are: water, vegetation, animals, insects, and sand. We had trees, birds, squirrels and insects already. I moved the sandbox over (empty) and filled it with clean sand. All I needed was water.  I really wanted a rain barrel with a faucet so they could have "running" water to play with. It was a little expensive so instead  I made a small water garden with a few goldfish. I bought a plastic "whiskey barrel" for $15 from Big Lots and a $18 solar pump from  Harbor Freight Tools. Add gravel few water plants and fish (to keep the mosquitoes down) - viola!
water gardening in the rain...

Children need things to sit on, in and under. They want places that provide privacy, shade and shelter.
We had the various trees, but as a landscape it was fairly barren. Danielle really wanted a tree house, but that is beyond my construction abilities. I used a Dollar Tree hula hoop and a thrift shop sheet to create a princess-like pavilion that we hung from a tree branch. I can put up our tent out there on sunny days.

They also want different levels, nooks, crannies and places to hide. Unfortunately in the South nooks and crannies are often home to snakes, black widows, brown recluse spiders and scorpions. Not the type of animals and insects I want kids playing with!

Finally, kids crave things that can be changed. They want loose parts that they use to build and create their own inventions. Think of how many kids love Legos, for instance. The desire to create is hard-wired in most of us. That's why I added some open ended items like the metal flowers, baskets, buckets, lengths of rope, etc. I'd like a pallet or two as well. The kids can move things around depending on their mood and the day. There are a few stumps for balancing stones, seats and general construction, but most were just too heavy to carry across the dry creek bed.

I had wanted to create a path from logs, but sawing logs to the correct thickness was harder than I thought it would be. Instead I bought some stepping stones ($3 each) and painted them bright colors for a path. Since these are plastic the kids can move them and incorporate them into their games.

Most of the things in the new play space were moved from other parts of our house or yard. A fair number (like the tire drum) were created from recycled objects. All together I spent less than $75 on materials for this newly developed play area.

 
The zip line is up and we still have one large tree without a purpose. It's just crying out for a swing. I know I have some a 2x4 and some rope somewhere...

Friday, April 26, 2013

Recycled Item Fairy Garden

fairy garden|miniature garden|fairies|crafts|DIY fairy garden furnitureThis is an interesting year in Danielle's development. She's not sure if she still believes in Santa Claus or the Easter Bunny, however she has a firm belief in the Tooth Fairy. 

She lost her first tooth a few weeks ago. And literally lost it. We have no idea where it went. Once her panic subsided we came up with a plan. She wrote a small, fairy sized note and slipped it under her pillow (with a penny).

Just before she fell asleep she asked me to crack open her window to make sure the Tooth Fairy could get in. There is no doubt she believes.

I think she is losing her belief in Santa and the Easter Bunny due to all of the costumed characters at the Mall, etc. She has a deep seated fear of large costumed characters (and yet we go to Disney almost every year!) Very early on we had to tell her that they were just people dressed up, pretending.

She is positive that the Tooth Fairy exists "because no one can be small enough to pretend to be her." There you have it - irrefutable 6 year old logic.

So it just made sense that we should build a nice little fairy playground in the backyard and a "place for her to rest her wings."

Earth Day seemed like the perfect day to start this project. First, we drew plans. Danielle wanted to build a house, but we weren't sure how to do it. Kevin came up with the best idea- creating one from a small carton of Goldfish crackers. We knew that we definitely wanted a swing, a path, a water feature and "lots of colors." Apparently, fairies love colorful things.


There are so many beautiful Fairy Garden ideas out there. My biggest inspiration came from The Magic Onion. There is no doubt that Donni is a fairy expert!  I had to rein myself in so I didn't take over this project and build bunches of adorable, highly detailed pieces for Danielle's garden. After all, it is her garden, not mine.

We used an faux cement planter that we had on hand - our first bit of recycling. It didn't have a hole  so we layered the bottom  with old golf balls to create drainage. We live on a golf course and thanks to some pretty poor golfers in the area, we always have golf balls that we find in our yard just waiting to be reused.


Lost golf ball...


After drawing the plans we searched the house for pretty things that would attract fairies to our garden. We found beads, bottle caps, aquarium gravel, marbles, ribbons, bits of shells and pretty rocks that Danielle had collected - even old golf tees. We built seats out of popsicle sticks and twigs, a tiny table and lots of other little things. We even made Monkey bars from floral wire.


We didn't succumb to the temptation to add doll furniture or buy premade decorations. Danielle wanted us to make everything ourselves, "just like Tinker fairies." You can buy absolutely exquisite items for fairy gardens, but where's the fun in that?

Table & stools made from bottle

the "box of rocks" we've collected for crafts

We made a fairy-sized birdbath from a shell and a golf tee - "A butterfly bath," as Danielle called it. Golf tees also made excellent posts for our bridge and stands for marble gazing balls. We used E6000 or Liquid Nails to carefully glue the items together. The "tire swing" was an old washer from a sink faucet tied onto some twine, hung from a dry branch. Pennies transform into pretty copper stepping stones.

Making the tiny tire swing from an old washer

Scale and proportion sometimes got lost along the way. Frankly, we're just not sure how big fairies really are - and "their wings add height," as Danielle pointed out.

The "log bridge" for people
The bridge over the "pond" was a bit tricky to create. We considered cardboard and paper mache, but realized that they wouldn't withstand the heavy rains we sometimes get. I had a cute vintage bridge from my childhood fish tank. It met our recycling goal, but failed Danielle's "DIY" test.

Looking around the yard we finally found inspiration! Since we cleared the backyard a few weeks ago we've been struggling to create a bridge over the dry creek bed. A real bridge is too complicated and too expensive to build. For now, we've been tip toeing across one of the leftover logs.

Why not use a "log" for a bridge in our fairy garden as well? "Easy peasy lemon squeezy," as Danielle would say!

I did take control of the plants a tiny bit. I just didn't want her to be disappointed if they died or overran the entire fairy garden. I chose moss from our yard and thyme from the herb garden as ground covers. 


Took a clipping from this thyme plant
In places we have more moss than grass!

One thing I noticed - it takes a lot more materials than you think it will to fill a container. All of the items and plants are small so you need quantity to create volume. For instance you need a lot of moss for ground cover! It looked like moles attacked our yard. However, a flat of moss isn't cheap, so we'll live with a few bare patches.


There are very few small flowering plants available outside of specialty garden centers. And tiny little succulents which look absolutely perfect in miniature gardens cost $4 each.

We bought a few new plants and flowers. Danielle wanted marigolds for color. Added bonus - the deer won't nibble on them. They look like gigantic Dr. Suess trees in the tiny landscape. She also used Mexican heather, red salvia and one little flowering succulent.
Tiny tire swing on left side

Asparagus ferns make nice small scale evergreens. My favorite plant was a tiny eucalyptus "tree" for my garden.

Even with our focus on "reduce, reuse, recycle" this wasn't an inexpensive project. I spent approximately $35 on plants and potting soil for the two fairy gardens. (Yes, I made one, too. I couldn't resist.) Moral of the story: rocks and pebbles are your best friends. I used a 10 cent 3x3 tile to create a "patio" in my garden to take up empty space.

Danielle spent every afternoon after school working on her fairy garden - and you know how exhausting Kindergarten can be! This was a real labor of love as she crafted a tiny hammock, a banner for the fairies and other special details. She literally worked night and day on creating the perfect fairy playground!


A few final touches on a Friday night...

It was such a joy to spend the afternoons creating these little wonderlands together. Now we get the added fun of playing in our creations.


I know this is the time when little additions like Christmas decorations and doll furniture will find their way into the garden. We'll continue to make things for the fairies as the seasons change. I can see the fairies needing a larger swimming pool in the summer or Halloween decorations in fall. What goes into her fairy garden is only limited by her imagination at this point.

Danielle was very proud of her fairy garden so we entered it in The Magic Onion Fairy Garden Contest for 2013. I know that a 6-year old's creation doesn't stand a chance of winning against the grown ups, but I'm thrilled to give her the opportunity to show off her creativity.


Why don't you make a fairy garden of your own and enter?
I'd love to see the results!

Even our cat believes in fairies!