Showing posts with label Teen Beach Movie. Show all posts

Saturday, October 5, 2013

Teen Beach Movie Birthday Party

Teen beach Movie Birthday|Teen Beach Movie Party|Beachball Cake|Surf Cake|Teen Beach Movie|Petite My Sweets review|Party planning
Decorations
I'm not a high-end party stager. I like to convey a mood without going overboard on cost or construction. Personally, I'm not going to build anything out of wood and I'm not married to a man with a wood shop in the garage. So, I tend to stick with cardboard, foam core and recycled materials. I'm a huge fan of remnant fabrics to dress things up. In this case I found some cute pink surfboard fabric, retro motorcycle fabric and some tropical prints all for less than $5/yard.

The front porch was decorated with beach ball paper lanterns, boogie boards and a grapevine wreath decorated with tiny paper umbrellas (we had both components on hand already so this was free!). Each guest was greeted with a flower lei.


I set up a buffet for the food. 
I hung a motorcycle balloon over the drink table and a surfboard pinata by the snacks.
Vintage motorcycle fabric, helmet and balloon represent the Bikers.

Surfboard fabric and surfboard pinata represent the surfers.

Pinatas do double duty as both decorations and a party game
I made two foam core posters- a juke box and, of course, the Big Momma's signs. I'm really happy with how the Big Momma's sign turned out. I hand lettered the sign using magic markers then I traced each letter using plain white glue. I waited 24 hours for the glue to dry completely. The glue gave the letters a little dimension and shine similar to neon letters. It also created a resist that allowed me to paint the background of the sign to look like weathered wood.
Adding the glue over the letters


I spent a lot of time making the sign, but only about $4 on the materials. (Thanks to Dollar Tree.)
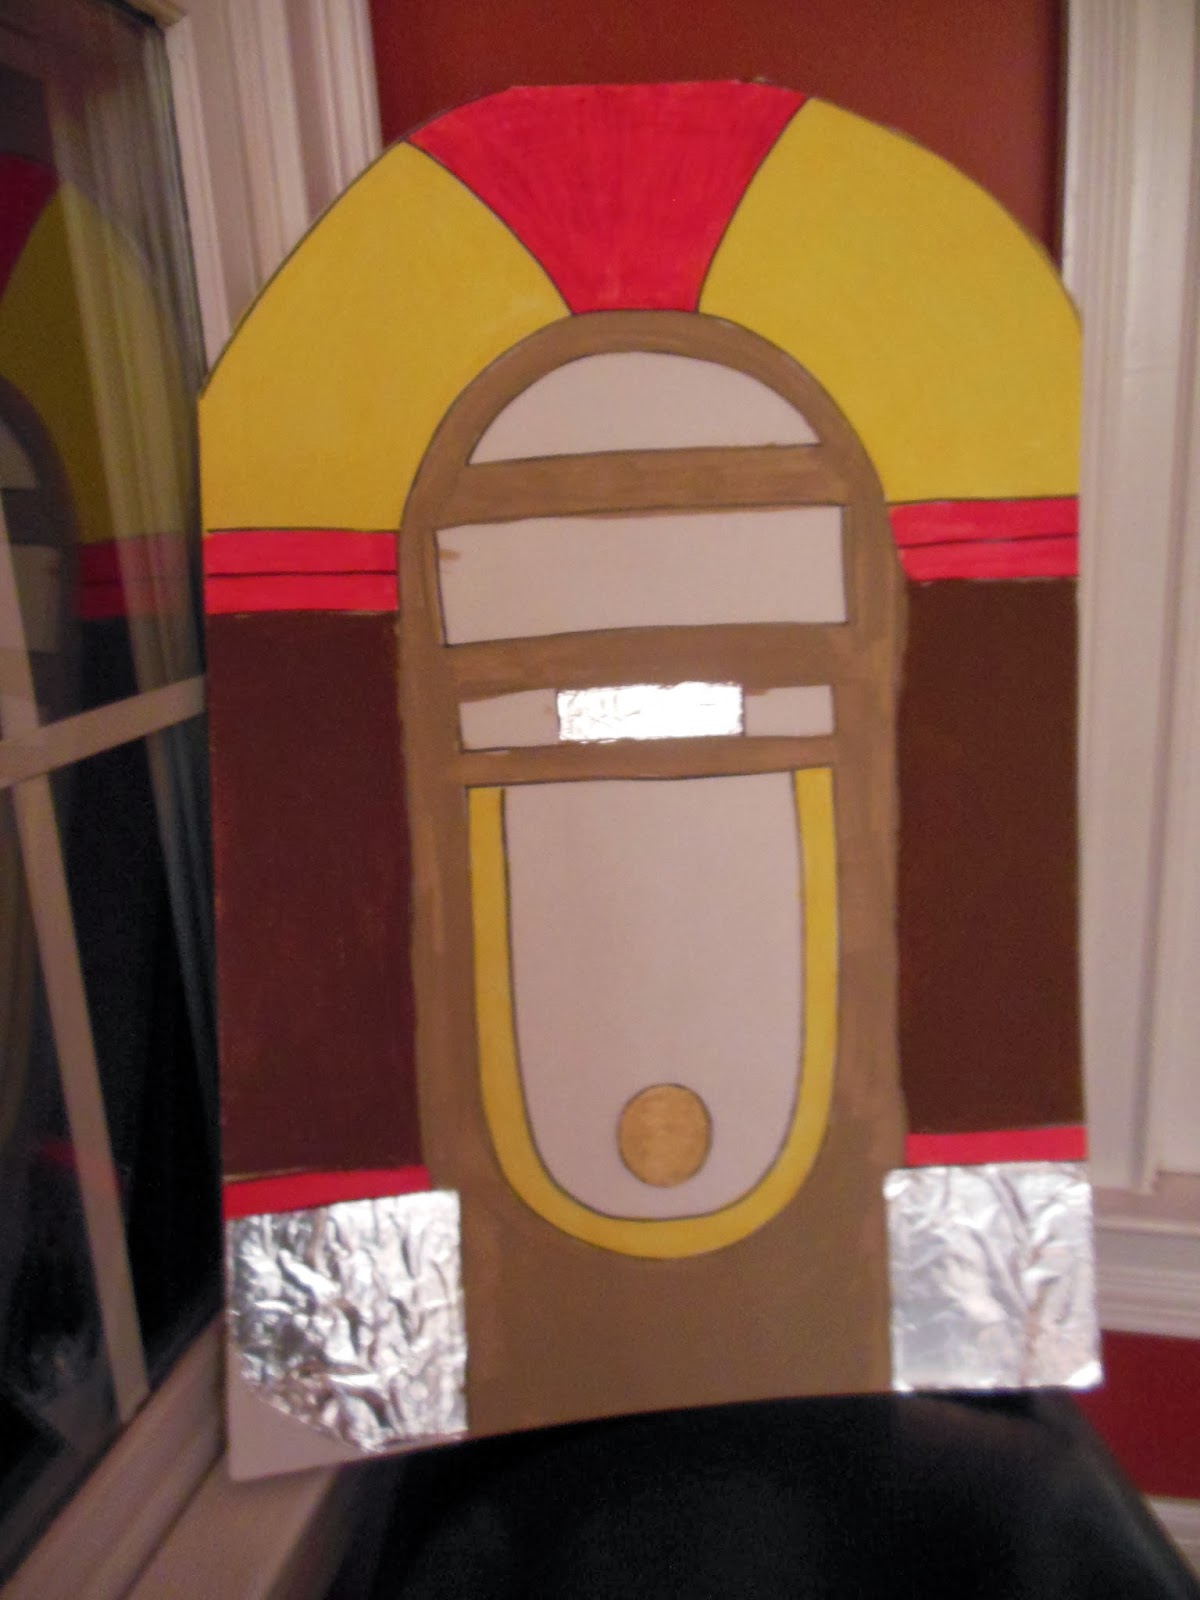
Our Ion juke box  is really a dock for an Iphone so we played the Teen Beach Movie soundtrack. Our party playlist also included an overview of early rock and roll: Beach Boys, Elvis and the Beatles and of course,  Wipe Out .

Danielle wanted there to be a Big Poppa's surf shop. I made another sign for a "surf" atmosphere. Cutting surfboards from cardboard is much harder than I'd expected. I would advise against it - my attempt at creating a surfboard was pretty lame.


I  decorated the backyard with bunches of balloons and tiki torches. I used a discount coupon to buy a helium tank for under $20 at Michaels' and  picked up the torches at the end of summer for less than $1 each.

Games
In the retro spirit, we kept the games simple.

First we divided the kids into two teams: Bikers and Surfers. I hid themed flags for each team around the back yard. The first team back with all of their flags won.

Next was limbo. The kids loved it!

The kids also played a chaotic version of volleyball. We used a giant beach ball for the game. We needed an air pump to inflate it. You can get one that is almost as big as the one  in the Teen Beach Movie promos, but it costs almost $100. Ours cost less than $10.

I wanted to have a hula hoop contest, but could only find 2 hula hoops in October.

Menu
We served kid-sized versions of classic diner food --mini corn dogs,small hamburger sliders, chicken nuggets and tiny tacos. There were chips, crackers, fruit kabobs and veggies with dip.

The kids sat on beach towels to eat.


I made this cake myself: chocolate motorcycle, brown sugar sand with fondant towel and surf boards.

Second cake - not finished in this photo. Wilton soccer ball pan covered in homemade marshmallow fondant
The rest of the dessert table was created by My Petite Sweets in Marietta, GA. What a disappointment! There was no artistry in the baked goods I received. Cake pops and marshmallows simply rolled in colored sugars. The cupcakes had two globs of frosting and a paper umbrella. I could have done that myself.

Worst of all, the chocolate dipped strawberries that were specially requested by the birthday girl were spoiled and moldy! The one child who ate one vomited before we discovered the rotten fruit.
Cupcake from Petite My Sweets
 I would have gotten better looking - and tasting!- baked goods from Publix.

Spoiled and moldy strawberries from Petite My Sweets

Marshmallows and cake pops from Petite My Sweets.
I made the chocolate motorcycle lollipops myself.

Danielle and I both love to give party favors. In general I prefer to give one big item that can be used again rather than a lot of little things that will be thrown out or vacuumed up. I considered giving  motorcycle helmets to the boys, but I couldn't find a similar item for the girls. Retro toys like jump ropes and marbles might be another good choice. Hula hoops would have been a great gender neutral party favor if I could find them.

I know a lot of parents hate goodie bags, but I think its important for the birthday child to give as well as receive. We had to go against my usual philosophy and hand out bags with several small toys- windup motorcycles,  shark tooth or flip flop necklaces, flower bracelet craft supplies, puzzle books and pencils.

We ended the party smashing open the surfboard pinata. Who doesn't love a candy free for all?

Backup Plan in Case of Rain or Cold Weather:
If it looks like bad weather you don't have to panic and put in a DVD of the  movie. Just put on your retro thinking cap. So many kids have never played classic party games! You can still play limbo and pin the tail on the donkey inside, but races are obviously out of the question.

Danielle asked that we create a scavenger hunt for her friends which is how we came up with Find The Flags. You can hide flags inside or you can print pictures of household items for team to find. For older kids, write out clues for specific items then have the Biker and Surfer teams find them.

You could also have the kids play indoor volley ball with balloons as long as there is nothing too fragile or valuable in the room.

Try playing Pass the Parcel using items that would have been prizes. Wrap a "big" prize in the center, then add a piece of candy or a smaller prize and wrap it. Add a little confetti and wrap the next item - and on and on...You can make any number of layers. You can use scraps of gift wrap, tissue paper or even plastic wrap. Some people wrap a random number of prizes; others make a layer for each child (good for younger children so that everyone gets a prize).

Another classic game involves food. Have the kids try eating hanging pieces of food. You can use doughnuts, apples or marshmallows -  anything you have on hand or might have been serving another way. The winner is one who finishes his or her piece fastest without using their hands.

Or try a pie eating contest using graham cracker tarts and canned whipped cream- if you don't mind the mess.

My Amazon Listmania List

My Teen Beach Movie Birthday Pinterest Board

Wednesday, August 28, 2013

Lela's Friends Forever Necklace...My Halloween DIY Adventures

Lela Friends Forever Necklace|Lela Pendant DIY|Lela necklace tutorial|Lela Teen Beach Movie
I have several friends who are amazing seamstresses. They make their children adorable outfits and fabulous Halloween costumes.

I can't sew. At all. I consider replacing a button a major accomplishment. I normally hope that the dry cleaners will notice missing buttons and replace them for me.

Several year ago I was tasked with making Amanda a "Jane Jetson" costume for a school performance. I made it with felt, glue and hem tape. I was extremely proud of it - until I saw photos of her. Poor child looked like she was wrapped in a pink trash bag. Lesson learned.

However as much as I detest actual sewing, I love creating costume accessories. Last year Danielle wanted to be The Scarlet Witch from Superhero Squad. She went trick or treating with her friend who dressed as Iron Man and Kevin who was extremely happy to play Wolverine.

Her costume was a shopping masterpiece. I found a red leotard, red cape and red boots. She had long red gloves. All she needed was the headdress. Yeah! A project for me. I looked it up on the web. I was a teensy bit disturbed to find examples in "adult cos-play".  Sounded a little kinky for a kid's Halloween costume. However I was able to copy the shape, not in vinyl, but in more age-appropriate stiffened red felt. The felt cost less than $1 at Hobby Lobby.

I bought her a Marvel Avengers trick or treat bag and hoped that when she showed up with Iron Man & Wolverine people would understand she was a superhero. I don't think anyone knew who she was. I don't think she cared. She was thrilled with her costume.

This year Danielle wants to be Lela from Teen Beach Movie. However, she doesn't want to wear the readily available pink biker chick outfit. Oh no, my darling daughter wants to dress like Lela from the most romantic scene in the movie, when she sings "Falling for Ya".Who can blame her? Grace Phipps is exquisite in this role - and she falls into Ross Lynch's arms. Little girl Heaven on Earth.

To be the perfect Lela we needed to track down a red polka dot sundress. Happily I found a wonderful seamstress on Etsy, Marie of SewCreationsBoutique, who made a darling retro red polka dot dress for about the price of the off the rack pink biker outfit.


Then all Danielle needed were the accessories. I vetoed super high black pumps (too hard to walk around the neighborhood in) and we compromised on black patent ballet flats. A black stain headband for her hair and we're almost there. However, we need one critical element - the Friends Forever necklace.

This adorable necklace mimics the flower on Mack's surfboard. Mack is the other female lead, played by Maia Mitchell. Mack and Lela become best friends and in one of the final scenes Lela gives Mack her pearl necklace.

Turns out the necklace in the movie was custom-made by the Art Department and there are no replicas for sale anywhere. Trust me, I looked! I even contacted Disney directly.

So, I decided to make one. How hard could it be, right?

 I had a bit of green polymer clay on hand. Don't ask me why. I've never made anything with polymer clay. I think I had it because it only cost 64 cents and I thought I might need it some day. Well, today was that day.

If you want to make your own: 
If you want to make your own, it's very easy! Each pendant will take 45 minutes to an hour to create.

I molded a tiny copy in green clay, having no idea how to work with it at all. Thankfully its very forgiving. I've worked with clay doing a bit of pottery so I guessed. My tools included a butter knife, a chop stick, a pen and a nail file. (I've since discovered that polymer clay isn't food safe. If you use a knife with this clay it should become your dedicated polymer clay knife - don't use it to frost a cake later.)


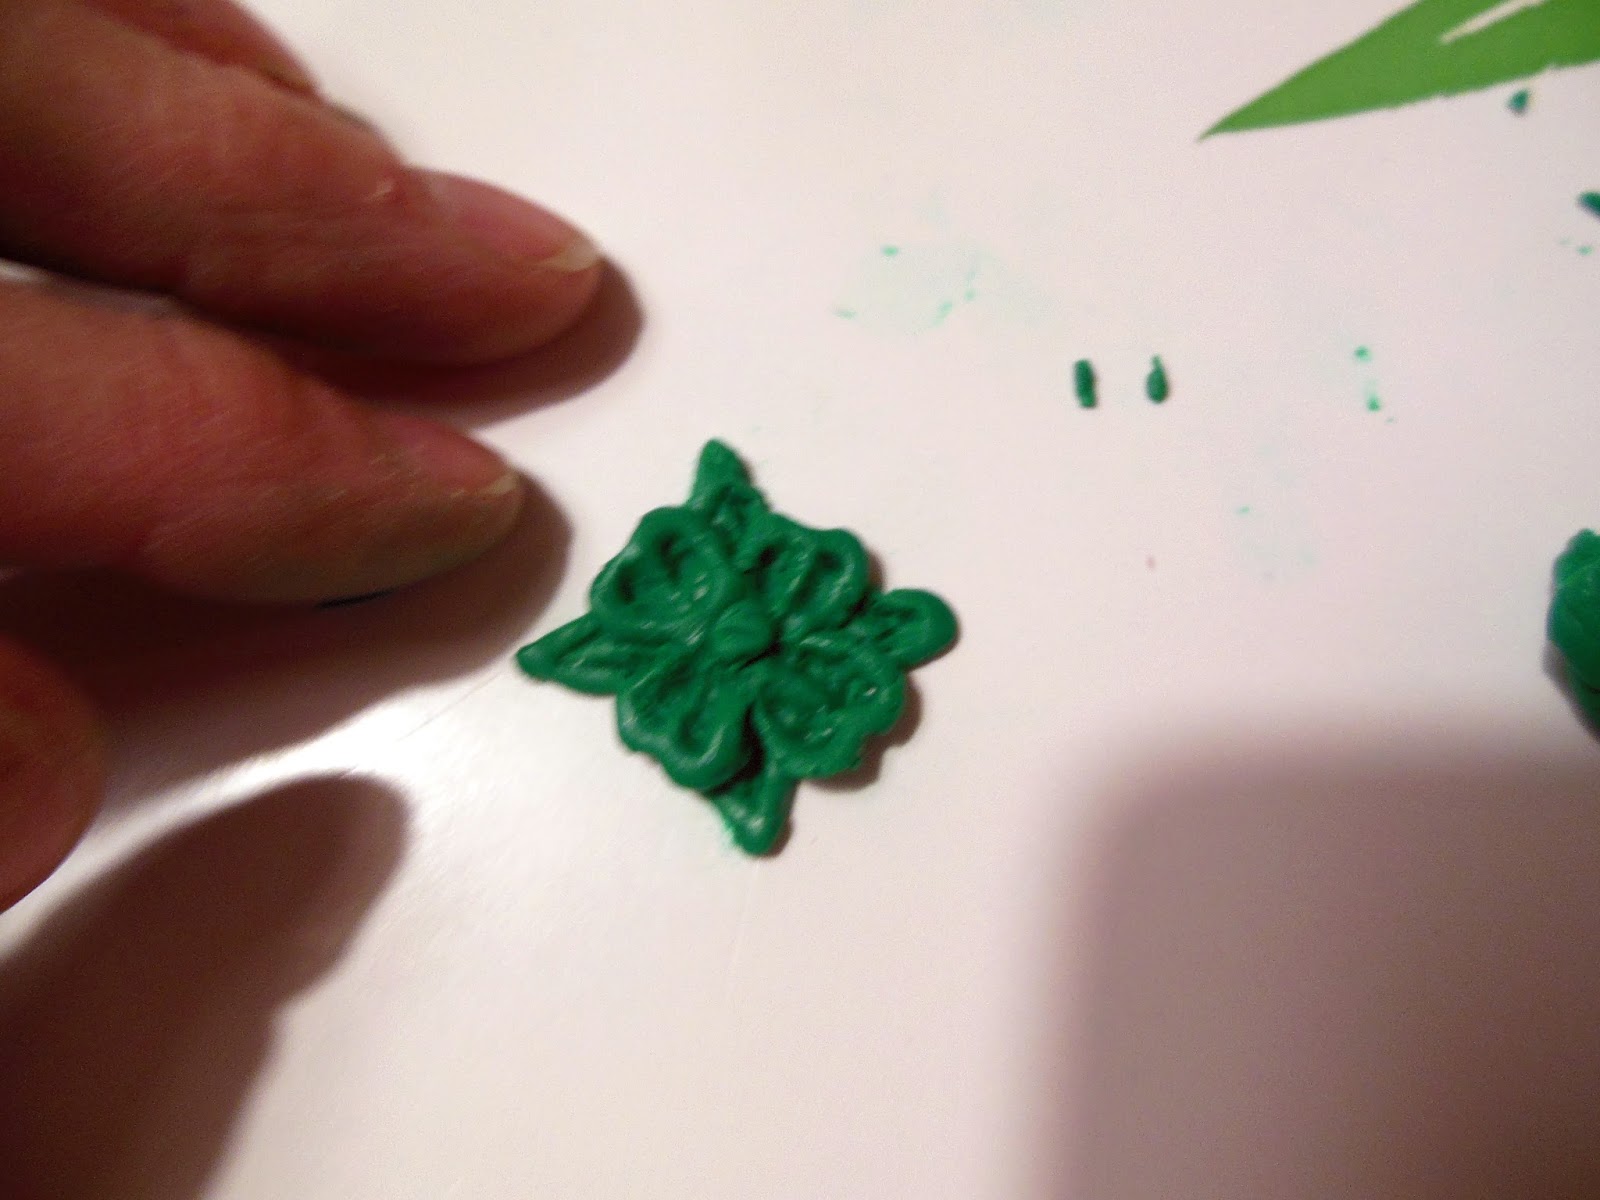
I made a sort of four leaf clover shape and pressed the tip of the chopstick in to create the flower petals. Next I made an elongated diamond for the background, again using the chopstick to create an indentation. After I created the two layers, I scored each of them with fine lines using the tip of the file and stuck them together.Finally I made a tiny ball and stuck it on for the center of the flower.

I made a thin rectangle with tapered ends for the loop to attach the pendant to the necklace. I pressed the layers together and touched up the details with the tip of a pen. Then, into the oven at 275 for 30 minutes as the package directed - with open windows and the exhaust fan running.

I let the pendant cool overnight and then painted it with some silver paint I had on hand. I used two coats of silver paint.  I tried both spray paint and acrylic. The acrylic adhered better, but obscured some of the details.

Once the paint was dry I filled in the depressions with a black Sharpie, then smudged the ink to give it a patina. It's not an exact replica, but its not bad for a few minutes work with materials I had on hand.

Oddly, the first one I made disappeared. I spray painted it outside. Maybe it blew away. So, take two:
I made this one smaller - so I used smaller tools

The back of the flower (and my green fingers)

Scoring the base 

Right before it went into the oven

Now, I just need to string about a million tiny pearl beads onto an elastic for the necklace....

Fortunately I found 100 pearl beads for about $2; the cord cost another $2.50. I made this for about $5 - an inexpensive accessory. The finished product lacks the beauty and flow of the original piece, but it will be fine for a 6 year old.

This is what it looks like painted silver. I need to apply the patina still.

I don't think anyone will know who she is again this year. Not that she'll care. She is just thrilled to wear the beautiful dress and look like Lela. I think whoever goes trick or treating with her needs to dress like a 1960s biker or surfer. I wonder if there will be Teen Beach Movie trick or treat bags for sale somewhere?

If you decide to do this I have a few suggestions for improvements over my version:

1) Use a more appropriate color of polymer clay. Sculpey clay comes in silver or pewter which would eliminate the need to paint. It only costs about $2.50. You'll have left over for future projects. Plus- after being worn a few times the silver paint started to rub off and the green showed though. Note: Having tried both Fimo & Sculpey clays, the Sculpey was much, much easier to work with as a novice. The Fimo crumbled and didn't blend well. Also, Fimo bakes at a lower temperature - read the package if you use it.

2) Smooth the surfaces really well before putting it in the oven. I thought it would melt a bit and smooth out, but the surface stayed very rough where I poked it with the pencil tip. I've learned that regular rubbing alcohol helps smooth the surfaces.

You might even want to invest another $3.50 in actual polymer clay tools instead of using random household objects like I did.

Danielle strung all of the pearl beads! It took her about an hour
3) When you are using a Sharpie to apply the "patina" do a tiny, tiny section at at time so the ink doesn't dry before you blot it. If it dries dark black  it looks horrible and it's hard to correct. Use a stamp replacement ink pad to blot each tiny area. Tissues and cotton balls only worked so well. You could also paint small areas black with acrylic paint.

4) We used Bead Treasures 4 mm "glass Pearls". I paid $1.99 for 100. We used 2 packages, but you could get away with one. The first necklace was strung on fishing line. We used the thinnest stretch cord I could find for the second one.


UPDATE: Polymer clay is pretty durable, but certainly not unbreakable! Our pendant has been through quite a bit since I created it in August. At one point Danielle pulled the pendant off of the hanger. Another time, the dog we were caring for chewed right through the hanger. Both times it was easy to repair with a bottle of Translucent Liquid Sculpey. I just used it like glue and re-baked the pendant as directed on the Sculpey packaging. After cooling, the pendant was as good as new.

THANKS SO MUCH FOR READING THIS!